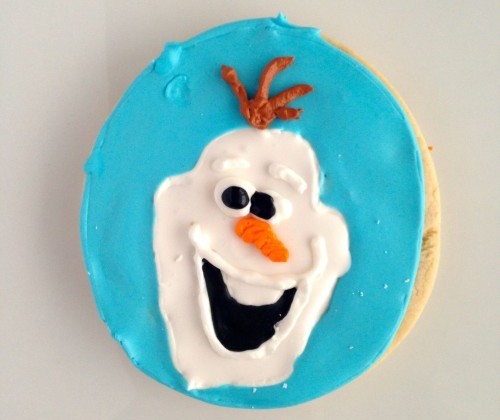
Olaf Sugar Cookies
I hope you and yours had a very Happy Thanksgiving. Ours was a wonderful one. My family and Grandparents joined us for my first Thanksgiving. Everything was delicious and I’m certain everyone left with a happy heart and a filled tummy. That was my goal! We then joined my in-laws and spent the day with them on Friday. It was so nice to see everyone.
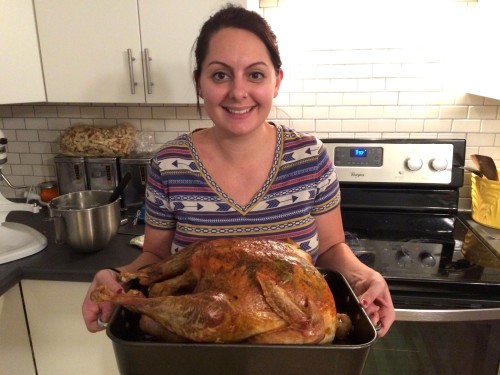
Here is a real life snap of me with my oven roasted turkey. I am tired and sweaty after cooking all day Wednesday and my kitchen is a mess but my heart was happy and I was so proud of my turkey.
Now that Thanksgiving is over I can start thinking about Christmas. Christmastime is a wonderful time of the year but I won’t start thinking about Christmas until Thanksgiving has passed. I hate the holiday creep. It is officially December so that means Christmas cookies!
There is this movie that Disney released about a year ago. It takes place in the winter, everyone seems to be wearing their winter jackets throughout most of the movie, there is even a very cheeky snowman in it by the name of Olaf. This movie is called Frozen in case you haven’t heard of it. 😉
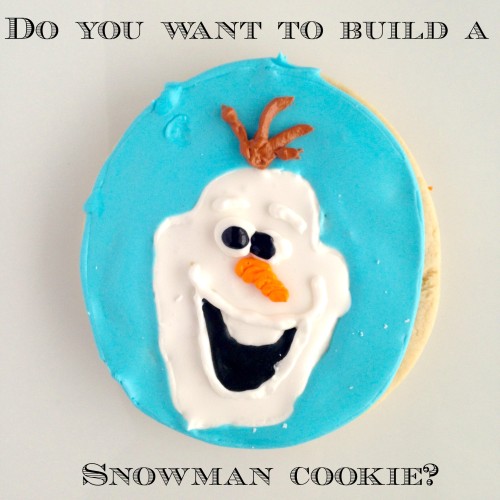
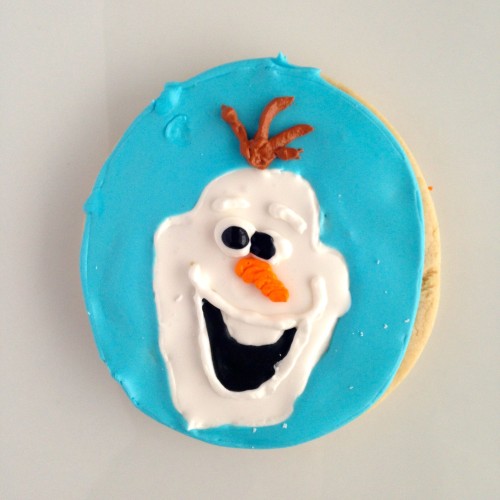
Do you want to build a snowman? I made a batch of these cookies for the school bake sale back in September. Let’s just say they lasted as long as a snowman would last in the heat of the summer.

Decorating sugar cookies is so fun. However I am not an expert (sure wish I was though!). Since I am not an artist and could not trust myself to freehand a snowman that would resemble Olaf I went to the internet for help. I found a coloring page image of Olaf, printed it out, and cut off his head. I only had room on my cookies for the head.
Place the cut out on top of your cookie, using a toothpick dot around the features so you can trace them with the icing, lastly I traced the outside of the head and mouth and the outside of the cookie with icing first. Letting that harden before flooding it in. They were so fun to make and my girls loved the snowman surprise when they got home from school.
Making the icing has a bit of a learning curve, but don’t fret! You can do it! The icing you pipe around the shapes needs to be thicker so it will hold up. The icing you use to flood the shapes will be thinner but not thin. Think like syrup or honey. It will spread out slowly. I have linked below to a very helpful tutorial about decorating.
My favorite products to make this recipe easier:


My nieces would FLIP for these! I wonder if my hand would be steady enough to frost these as beautifully as you did 🙂
The last ones looked better than the first ones 🙂
My granddaughter would LOVE these cookies! So cute! Now to make them with very low sugar as their mommy is on sugar guard constantly…….
I totally support her sugar policing other than when I want to make them something adorable like this…..
Kath I was the same way when my girls were younger. Maybe a special exception can be made 🙂
Nice job, I agree free hand is difficult. You can also use wax paper to do a full trace of your image and then turn it over on the cookie. Note that it will be reversed.
Great idea Cynthia!
These are SO cute! I bet pretty much every child (and many adults, too) would LOVE these!
Thanks Hannah! I knew they would be a hit when my daughters were practically speechless when I showed them the cookies.
1. Love the cookies.
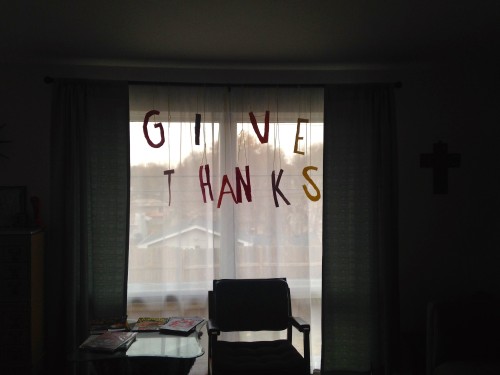
2. You did end up doing the banner! This made me so happy. Hope your girls enjoyed it 🙂
-Jillian
Thanks Jillian! I loved the banner! We used construction paper and yarn. The letter were all jagged due to kids scissors but it was perfectly rustic to me. 🙂
They are so cute! Frozen is so popular. 🙂 My youngest said, “Mom I just wanted to tell you that I do like Frozen. Even though it’s sort of girly; it’s ok if I like it.” I said, “Isaak it’s perfectly great for you to like Frozen.”
Aww that is so sweet Alissa. My three year old boy so sweetly will knock on the bathroom room and say “Elsa, please I know you’re in there.”
My daughter is having a Frozen party this year. Pretty sure these cookies will make the list! 🙂
Oh how fun!